DIY Cymatics Guidance
Are you interested in creating some at-home hydroglyphs? Have you ever wondered how to do liquid cymatics yourself? You're in luck, because we believe cymatics know-how should be available to all in an open-source way. Thus, we would like to share with you a simple Do-It-Yourself solution to get you started!
The first step is to visit our Cymatics Definitions page to get more acquainted with the terminology and basic understandings involved in liquid cymatics.
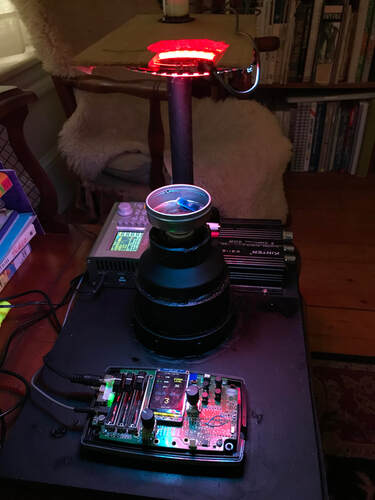
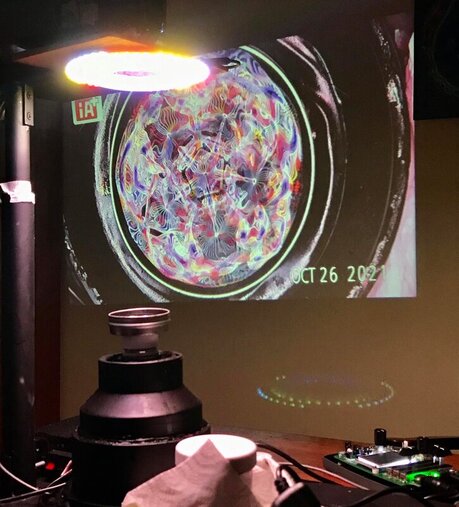
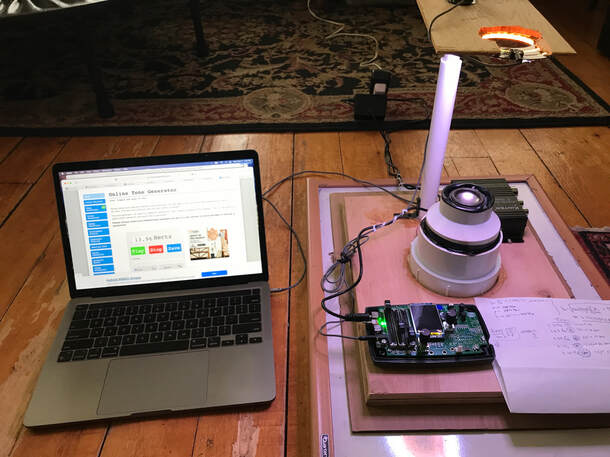
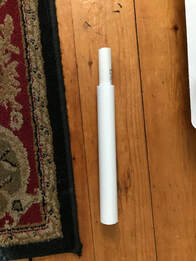
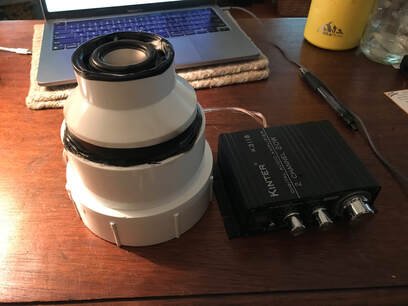
If you’re looking to build a DIY “Sono-Rig” at home, here is a list of parts similar to what Casey used to build what’s shown in these images; the total cost was around $80. He started with a small speaker/transducer (about 2” in diameter) and set that into a PVC plumbing adaptor, gluing it in place. Using some spare speaker wire and an RCA cable, he connected the speaker to a mini-amp that allows adjustment to the bass/treble as well as allowing an AUX cord in for playing tones and tracks from the computer. After that was all connected, he built a telescoping tower for holding his Halo Light rings (the selfie ring light in the link below is a perfect way to start). Casey then set everything securely into a plywood base, and voila, an inexpensive start to generating cymatics images at home!
Contact us for help setting up your DIY cymatics rig: info@resonantdevices.com.
Click the material item for a link to a store for more information on the item.
WATCH THIS INSTRUCTIONAL VIDEO TO LEARN MORE!
Sono-Rig Materials
The Light Ring and Cellphone Stand and Platform
The Speaker Components
Extras From "Around the House"
The Speaker Components
- 2” speaker (2-pack for $10)
- 3"-to-2” PVC adaptor for housing the speaker ($6)
- Mini-Amp to power the speaker ($20)
- 3.5mm stereo cable to RCA connector ($5)
Extras From "Around the House"
- Speaker Wire - This will connect your speaker to the mini-amp (soldering may be required but is not necessary, you can connect the wires using a secure attachment technique and electrical tape).
- Glue/Epoxy - You will need to secure the speaker into the PVC adaptor/housing using a strong glue or epoxy.
- Plywood Base - Use a small piece of plywood or other type of platform to secure your PVC speaker housing and your PVC light ring stand. I used two layers, making holes in the first layer for the PVC pieces to set into with the epoxy, resting then on the second layer. Be sure to drill small holes through the second layer beneath the PVC housing for the speaker to allow for airflow.
- Small Board for Cellphone/Lights - Find a small, thin piece of wood or something similar to attach to the other end of the small PVC tubing for the extendable light ring stand. If you can cut one end of the rectangular platform with the same arc for your light ring then you will have continuity in your alignment.
- Shelf Brackets - Small 2-inch shelf brackets can be used at the base of your PVC extendable tube for the light ring platform, and at the top of the PVC tube where the tube meets the platform. This will ensure 90-degree angles at both locations, keeping your lights and camera level and true.
- Plastic Bottle Top with Lid - Cut a plastic bottle top off near the top to have the same diameter as your speaker cone (if using a speaker from the above list). Carefully use epoxy to glue this to your speaker with a bubble level on top, ensuring the plastic top is centered on the speaker and is completely level in two perpendicular directions. The lid can then be glued to the exact center of the bottom of small metal dishes (no larger than 4 inches in diameter) to allow for interchangeable dishes.
- Small Bubble Level - See the previous information on the bottle top.
- Small Metal Container - Use these for the dish to screw on to the bottle top, provided you have glued a plastic bottle lid to the center underneath the dish. A salve or putty container will do.
- Black Primer - Chalk board spray paint works best to dim the reflectivity of the surroundings, allowing you to take the best images you can (also be sure ambient lighting is minimal).
*Be sure your base platform, speaker, cup, ring lights and camera are all flat and level for optimal results! Contact us HERE for assistance in getting started.
|
The future begins today.
Donate to our Research & Development Funds! If you would like to help us on our journey developing new and exciting technologies, please consider subscribing to our Patreon Club, or perhaps offering a one-time donation via PayPal. By subscribing to our Patreon Club, you are entered into our regular cymatics art giveaways.
Either way, your support matters, and is a fundamental part of our collective path in this time of frontier science! Thank you! |
